


I’ve had a lot of questions lately about my importing and editing workflow, and how I do things so fast! Having a quick and efficient workflow from the moment I start to import photos to when I deliver the final images in the gallery to my couples makes a world of difference for me and my business! Today I just wanted to take a minute and talk about my process for importing photos.

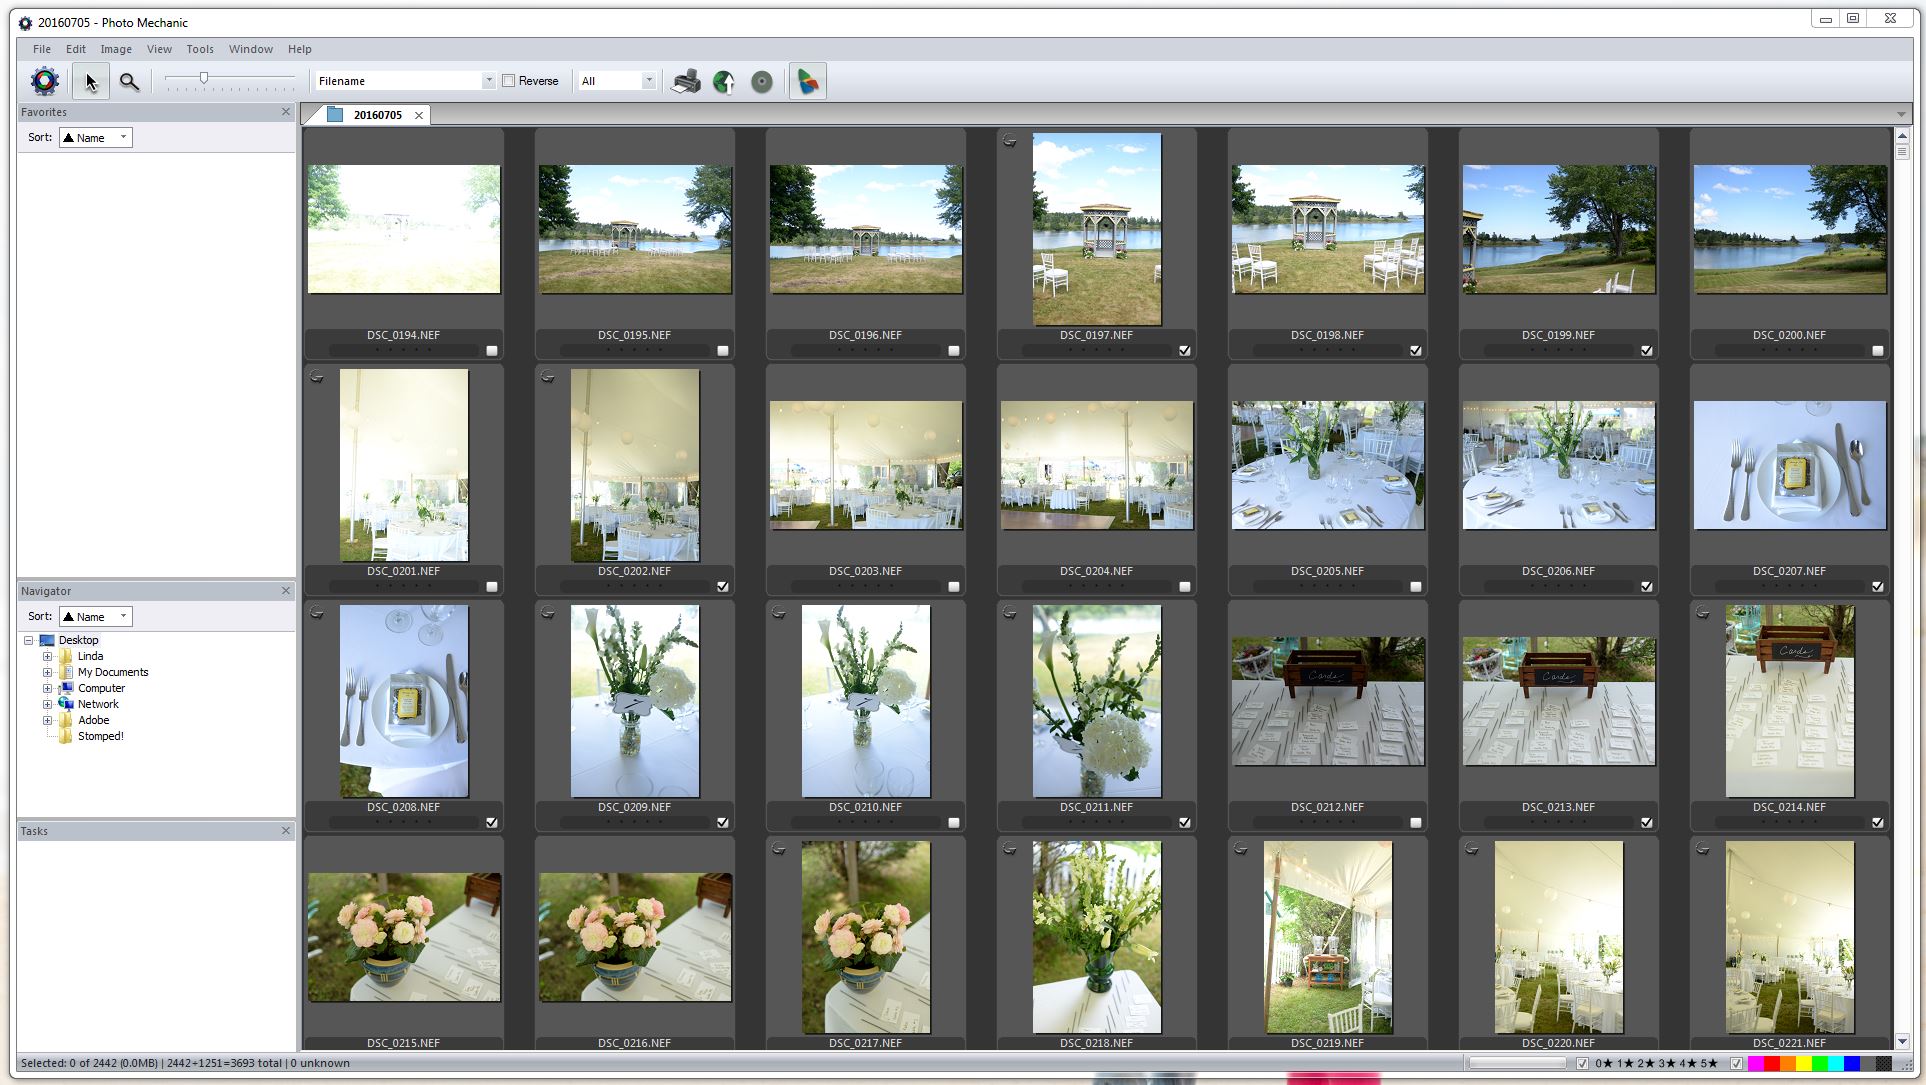
First off – I don’t import my photos directly into Lightroom. I use PhotoMechanic. If you don’t know what it is, and you’re editing a ton of sessions, you NEED to check this program out! It was worth every penny and literally gave me hours back of my life when it came to editing – and honestly, I was pretty quick at culling in lightroom! Now it goes even faster! It’s the greatest and quickest way to cull your photos! I can cull through about 5000 images in probably an hour or so.
In terms of importing, I have a pretty solid system that works really well for me. I have an internal hard drive and an external hard drive that has EVERYTHING that I edit, including all the original files. I also have a solid state drive in my computer that I use ONLY for editing.
So, here is how I import my images:
- I create identical folders on each hard drive (not the solid state drive) for the original files to be imported into.
- I “ingest” all the files from all the cards from a session right into PhotoMechanic. I ingest them to BOTH hard drives – one is the primary location, and one is the secondary location. It doesn’t matter which is which, but it ingests to BOTH drives so I automatically have them in two places from the get go.
- Once I’ve ingested all the images into PM, I organize the files by capture time and cull the final images by tagging them.
- After I’ve gone through all the files, I sort them by the “tagged” images, and then I select all those images and drag them to a folder on my solid state drive (my editing hard drive).
- Once they’ve been copied there, I open up a new catalog in lightroom, and I “ADD” the images in my editing folder to lightroom! I don’t copy them or anything because that creates more files and takes way more time!
- From there, I go ahead and start my editing workflow!
I hope this helps show just one of the many ways you can go about importing your photos! Everyone has a different system, and it really boils down to what works best for YOU. However, you do want to be sure that you’re creating a system for yourself that is quick and efficient and still allows you to have a life!

If you liked this post, you might like these also!

comments +