


“Lily, what is mommy going to do while daddy is gone for a week?!” (Me)
“Yeah, Lily. What’s mommy going to do?!” (Steven)
“Well, I guess there’s lots of things. Yoga, reading, scrapbooking, I could paint our room.” (Me) I was joking about painting our room, by the way.
“Yeah, you could totally paint our room! It might be hard to move things around on your own, but you totally could! You could go to the gym and walk on the treadmill!” (Steven)
This was a fun little conversation we had the day before Steven left for his annual spring climbing trip. It was mostly in jest!
Apparently, the only logical thing for me to do while Steven was gone was to redecorate. I bought new throw pillows, I finally started our photo wall in the living room (more photos on that later!), and my biggest project was actually re-doing our bedroom!
When we bought our home, there wasn’t much that really needed to be done to it. There are a few big things that we will need to do over these next couple of years, but they weren’t hazardous to our health or safety. There also wasn’t really much “wrong” on a cosmetic level. However, we have big plans for our home! We’ve been slowly making small changes that will eventually lead to a completely updated house!
Now, we don’t have oodles of money just laying around for house updates. We’ve been very intentional in deciding what to do next, and how we are spending our money!
So, while Steven was gone I decided to go for it and update our bedroom! Unfortunately, it all happened so fast during Lily’s naps that I didn’t actually remember to take any “before” photos 🙁 Such a bummer! Before, our walls were this sort of pretty green, but they were really dirty and I could never get them cleaned when we moved in. All of our photos were scattered all around the walls, and we had these plain beige curtains that I had actually ended up melting a little bit in the dryer, haha.
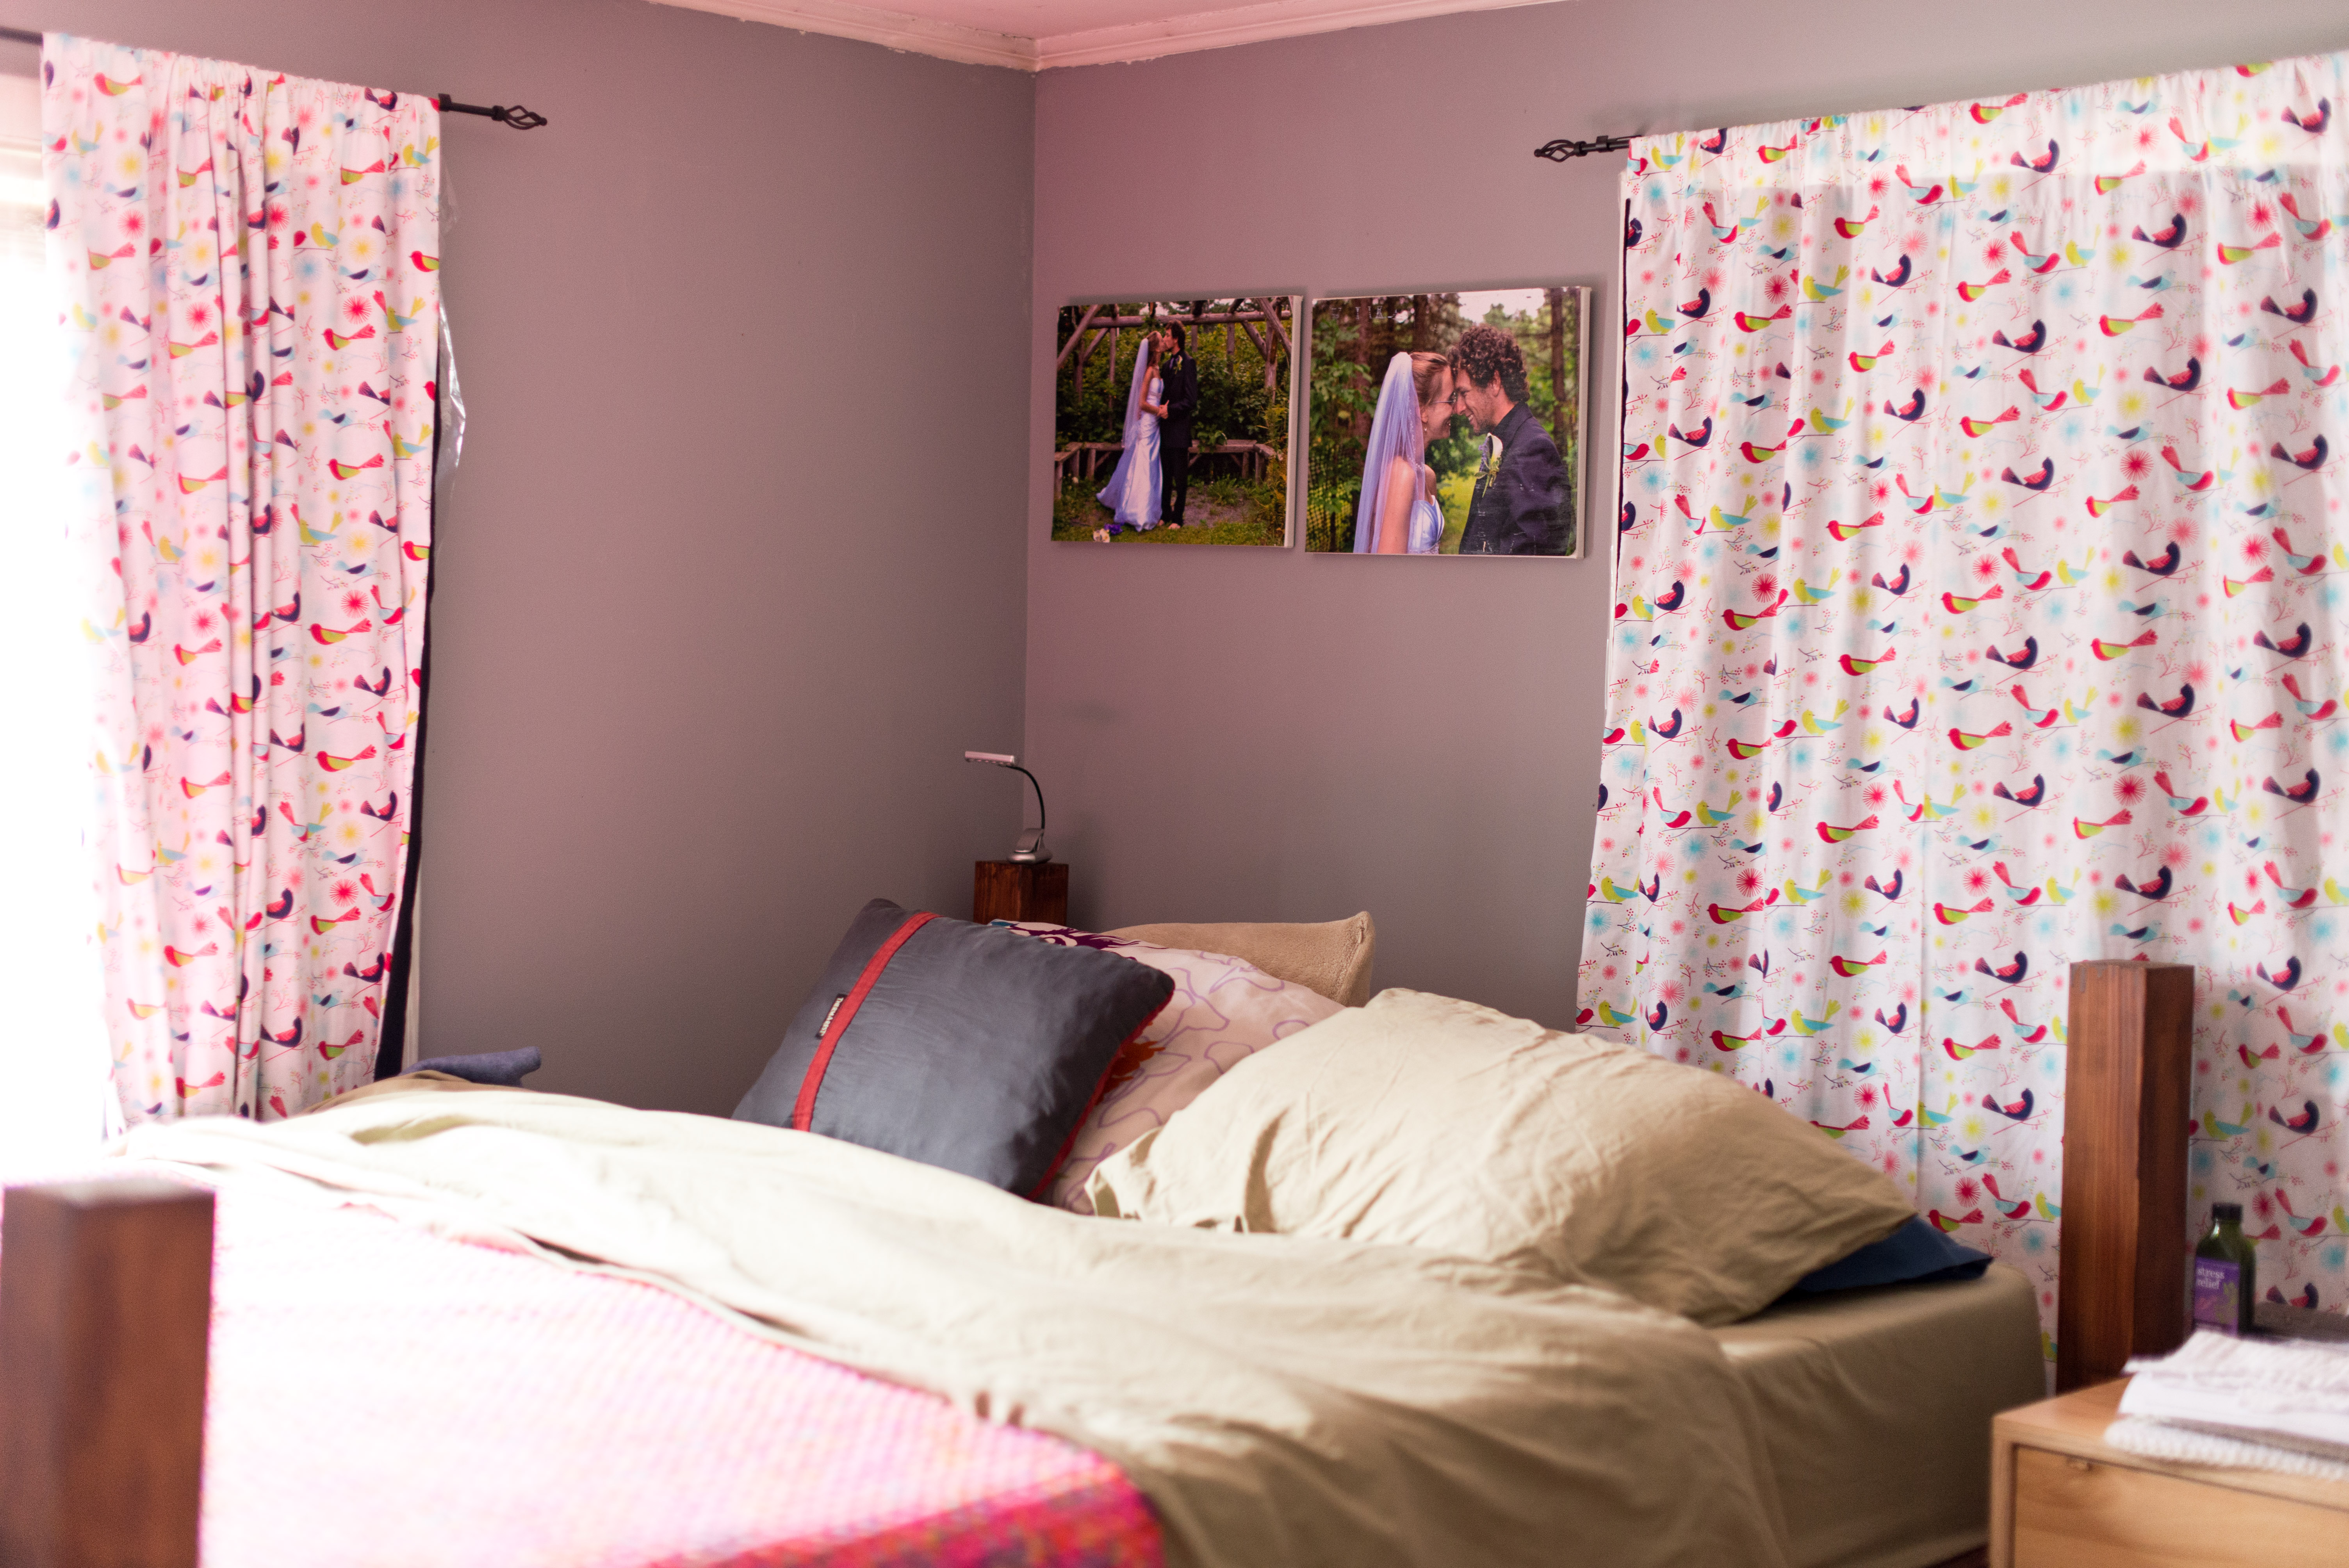
Here’s how our room looks now! (There is a slight pink tint to the photos because my blanket was reflecting all over the place!)
I love the gray color we painted Lily’s room, so I bought the same color for our bedroom, but just used a flat finish instead of a satin finish.
Right before Steven left, he bought a new sewing machine because his other one had broken. I taught myself how to use it and I made us curtains! I wanted something colorful to go against the gray, but I didn’t want it to be super in your face either! So I love this pattern of fabric I got from JoAnn’s! I also bought black flannel to go on the back and it really helps block out SO much light! Plus, flannel is cheaper than fleece!
To make the curtains I just measured how big I wanted the panels to be (Steven hates when they touch the floor), and then I put the two pieces of fabric facing each other. I sewed the two long edges together. I turned it inside out, and then I folded over the top and the bottom to make the hems! It was SO easy! I made sure I didn’t sew the side edges together at the top so that there was a space for the curtain rod to go through. 
I rearranged our photos in our room, so that only a couple are above the bed and our dresser, and then I put the rest on the biggest open wall in our bedroom. It was always so empty before and I didn’t really like how empty it was. So now they’re all pretty much in the same place! 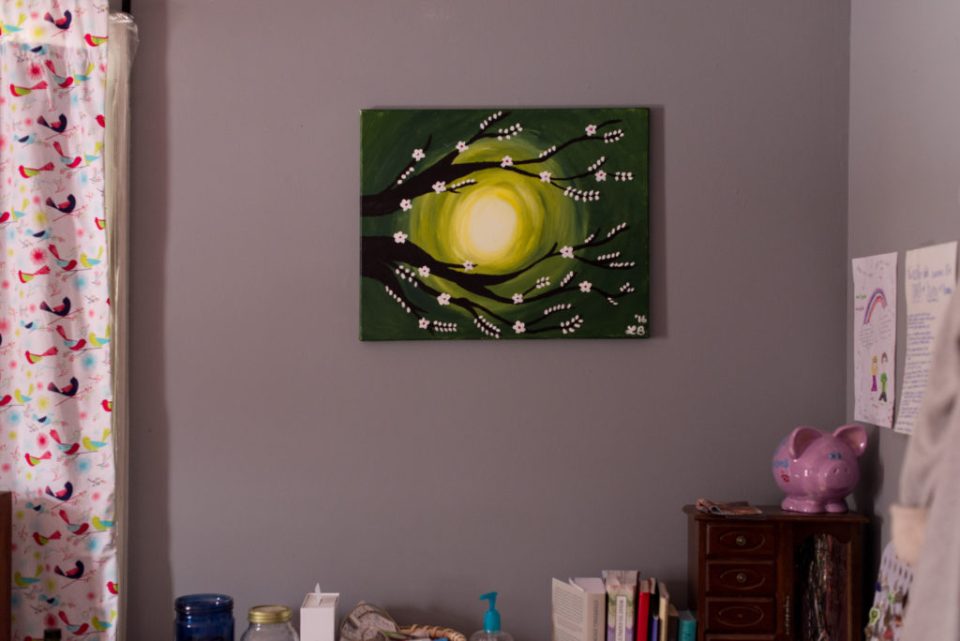

We have our shoe rack in our bedroom, but our flip flops are always falling through the cracks, so I bought this little basket at Target and put them all standing up! I LOVE it! 
So, here’s the breakdown of pricing:
- gallon of paint from Home Depot – $13.
- another drop cloth, painters tape, and a rolling pan – $7
- roughly ten yards of fabric from JoAnn’s – right around $40
- basket from Target – $5
The curtains were hands down the most expensive part of the project. I also had major coupons that I used and the fabric was on sale also. It’s not so expensive if you don’t do the backing, but I really like having a dark room at night!
Well, there you have it! Our most recent house update! It’s amazing how something as simple as a fresh coat of paint can make such a HUGE difference! I feel like we’re almost to the half-way point of all the inside projects we want to complete 🙂 To see our other two house projects, look HERE and HERE!

If you liked this post, you might like these also!

comments +